Tutorial: The Mighty Blind Hem
Another fantastic How-To brought to you by the lovely Sally Hess. Sally teaches a whole host of classes at Modern Domestic, including two Halloween Helper sessions that will get anyone out of their current costume pickle.
Do blind hems confuse you? Do you fold and fold and still wonder where the stitches are supposed to go? Blind hems are a beautiful finish on any fine garment. They are also a great way to have a subtle hem on fabric that would otherwise be overpowered by a visible line of stitches at the hem.
First you need to find your blind hem foot. It has a guide in the center of the foot and a curved piece of metal that the machine creates a zig-zag stitch over.

First measure your hem and press. In this case, the hem is being turned up 1 1/4 inches.
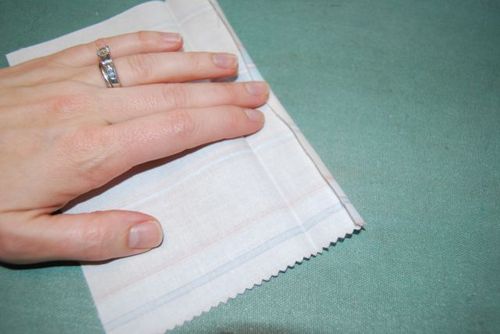
Fold almost the whole hem to the right side, (so that the right side of the hem is touching the right side of the garment) letting 1/4 inch of the hem extend. Press gently. Arrange it under your sewing machine with the wrong side of the fabric showing and with the 1/4 inch extension to the right of the needle. The guide on the foot will be up against the fold.
As you stitch, the machine will sew three or four straight stitches along the 1/4 inch extension and will then take a zig-zag stitch into the garment. In the photo below, you can see that the machine has just taken the zig-zag stitch. If you look closely, you can see that the zig-zag is a fairly loose stitch because it has to straddle the curved part of the presser foot. This is a good thing.
Once you have sewn your hem (or better yet, your practice piece), it will look like the picture below. All the straight stitches will be on that 1/4 inch wide extended piece and the zig-zag stitches will be somewhat saggy looking.
Now the magic. Unfold the hem, so that it is hanging where it belongs. The zig-zag stitches may need a little bit of gentle tugging to lie flat. The back of the hem will look like the picture below.
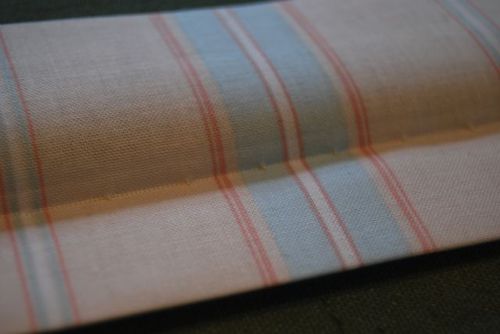
The front of the hem, before you press it, will look like this:
Those tiny little dots are where the zig-zag took a tiny bite of the garment. If your zig-zag took too big of a bite, you will have long, straight lines of thread instead of small dots. Make your zig-zag more narrow or move the guide away from the fold to fix this. After pressing it will look like this:
On the back of the hem you will see that I didn’t finish the raw edge of the fabric before hemming. If your garment is lined, you may not need to. Overcasting or serging the raw edge before hemming would be a good solution, especially on thick fabrics. On simple cotton fabrics like the one in the sample, a double folded hem would look nice.
Just like in a regular double folded hem, turn up the amount of the hem and then turn the raw edge under 1/4 inch (or slightly more).
Once it has been stitched, the doubled folded hem will look like this:
The back of the double folded hem is very lovely:
And the front is also very nice:
Because the blind hem only catches a thread or two of the garment every fourth stitch, it is not a very strong hem. I wouldn’t probably put it on the hem of my boys’ pants. I also wouldn’t attempt it on heavy fabrics like denim or canvas. It is well suited to any fine or delicate fabric and looks great when you want to give something a professional looking finish!


